


![[Pre-Order] Night Burn Saffron Elixir](http://thepurest.co/cdn/shop/files/Booster_NBSE_300x.webp?v=1780448165)


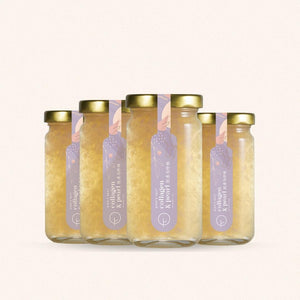
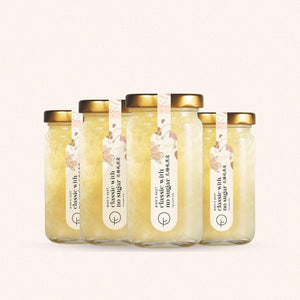
![[Pre-Order] Collagen Trio Starter Pack](http://thepurest.co/cdn/shop/files/Collagen-Trio_df0576af-8567-4142-8409-d9250f13581a_300x.jpg?v=1772528837)


![[Pre-Order] Night Burn Saffron Elixir]( //thepurest.co/cdn/shop/files/Booster_NBSE_1080x.webp?v=1780448165)


Why rice, honey, and rice paper?
Okay, let's talk ingredients. This mask isn't just cute content — each component actually does something for your skin. Here's the quick version:
The magic is in how they work together. The blended rice forms a cooling, starchy base; the honey binds moisture to the skin; and the rice paper holds it all in place long enough for your skin to actually benefit. Think of it like a DIY sheet mask, but with ingredients your grandmother probably already had.
The refrigeration step matters too. Applying a chilled mask helps calm any redness, tighten the look of pores temporarily, and just feels really, really good — especially on warm days.
DIY rice face mask
A 3-ingredient skin ritual
What you need
- 4 tbsp uncooked rice (any type — white or jasmine works great)
- 1 tsp honey (raw is lovely if you have it)
- 1 sheet rice paper (the kind used for spring rolls)
How to make it
- Wash the rice three times until the water runs (mostly) clear.
- Cook the rice with more water than usual — you want it soft and a bit mushy. No need to measure precisely; just add a generous amount.
- Transfer the cooked rice to a blender. Add a small splash of water, just enough to get the blender moving. Blend until smooth.
- Pour the blended mixture into a bowl and stir in the honey.
- Refrigerate for at least 30 minutes. This step is key — the cold helps with pore-tightening and is way more soothing on application.
- Cleanse your face as normal, then apply the rice mixture evenly across your face and neck.
- Briefly dip a rice paper sheet in water to soften it, then gently lay it over your face to cover the mixture.
- Relax for 15 minutes. Put on a podcast. Do absolutely nothing productive.
- Peel off the rice paper, wipe away the remaining mixture, and rinse with cool water. Pat dry.
*Includes 30-minute refrigeration time. Active prep is about 15 minutes.
"Your skin lost nothing from not buying an overpriced sheet mask."
A few tips to get the most out of it
Tip 01
Use jasmine or short-grain rice if you have it. The higher starch content makes a smoother, more effective mask than long-grain varieties.
Tip 02
Chill your bowl in the freezer for 10 minutes before applying for an extra-cooling effect. Great for mornings when your skin looks a bit puffy.
Tip 03
If you have sensitive skin, patch test the honey first. Raw honey is generally gentle, but it's worth checking on the inside of your wrist beforehand.
Tip 04
Follow up with your usual moisturiser while your skin is still slightly damp from rinsing. The residual moisture helps the product absorb better.
What happens after the mask comes off
Your skin will feel noticeably smoother. That slightly sticky, silky feel right after you rinse? That's the inositol and natural starches from the rice doing their thing. For most people, you'll also notice your complexion looks a bit more even and calm immediately after.
That said — topical masks, however lovely, work on the surface. They clean, soothe, and smooth, but they don't reach the deeper layers where collagen lives. Think of this mask as the part of your routine that gets your skin looking great right now. For longer-term changes — like firmer skin and improved elasticity — that work happens from within.

The glow-from-within step
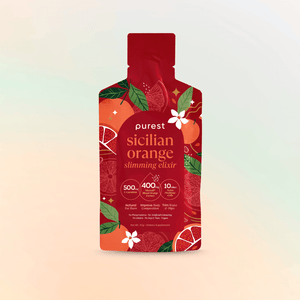
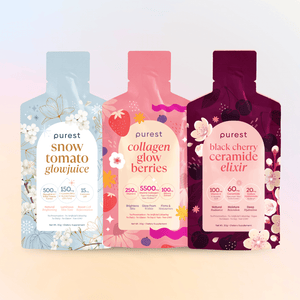
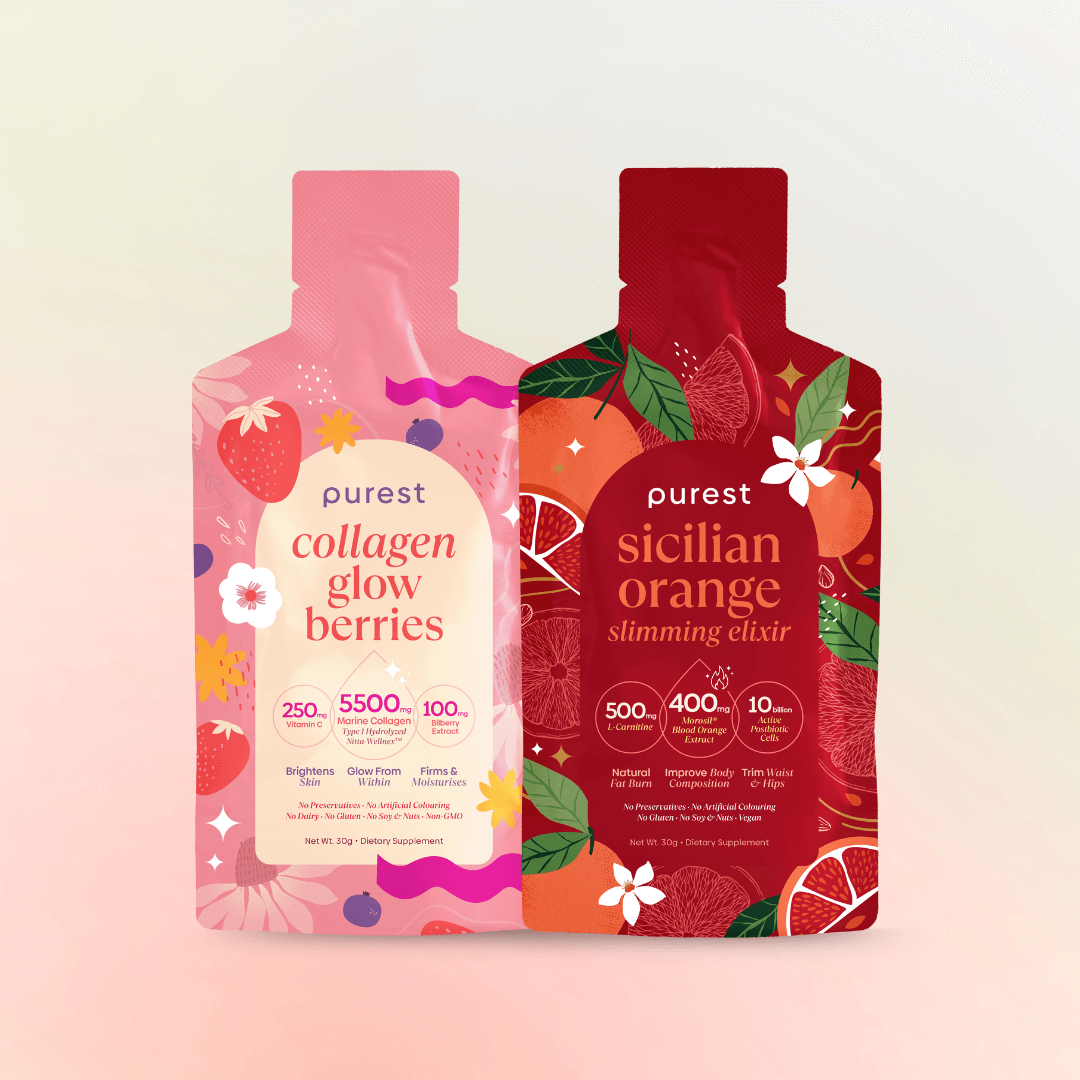
Collagen Glow Berries
for smooth, firm & youthful skin
Your rice mask works beautifully on the surface. This works underneath. Each sachet contains 6000mg of Wellnex™ Marine Collagen Di-Peptides — a clinically studied collagen backed by 6 clinical trials for skin firmness, hydration, and elasticity. Tear, sip, done.
Make it a ritual
The most underrated part of a face mask isn't the ingredients — it's the 15 minutes you're actually sitting still and not looking at your phone. Build this into your Sunday evening routine or save it for the morning before a big day. Your skin will thank you, and honestly, so will your brain.
Pair it with your daily Collagen Glow Berries sachet and you've got a full inside-out glow routine that costs next to nothing to maintain. That's the kind of wellness we can actually get behind.
